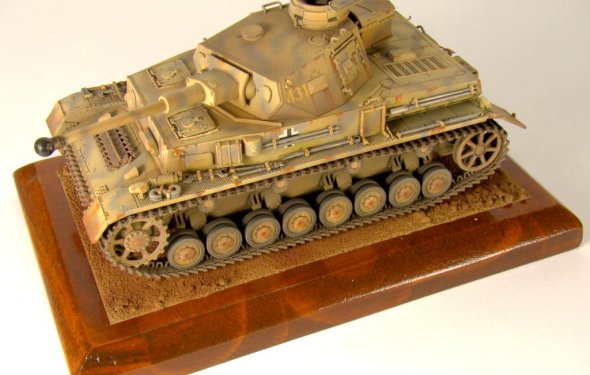
How to build plastic model kits?

Choose a suitable place to paint. You should not paint where dust or other airborne particles may adhere to your work. Choose a clean, dry place, between 5 and 30 degrees Celsius to apply and dry paint.
Before painting a part, make sure it is clean and dry. Painting over particles will not remove or hide them, but trap them in place.
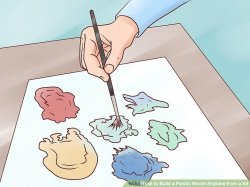
Ensure that the paint you are about to use is mixed to a thorough consistency. Start by striking the closed container of paint sharply and repeatedly against the palm of your hand. After about 20 strikes, open the container and mix the paint thoroughly with a stir-stick. A piece of sprue shortened to length makes an excellent and accessible stir-stick.
It may become necessary to mask adjacent parts from the part you wish to paint, so as not to accidentally get paint on that part. Masking can be in the form of masking tape or liquid masker. With masking tape it is necessary to cut the tape to the size of the area you wish to mask. Before applying the tape, it is good practice to remove some of its “stickiness” by applying it to another material and removing it again. This makes the tape easier to remove once painting is complete. When applying masking tape to the part, ensure that no gaps are present along the edges of the tape. The other method of masking, using liquid masker, may be preferred for smaller or awkwardly-shaped parts. To apply a liquid masker simply use an old, clean brush, and wait for it to dry. Once the part is painted it should be allowed to partially but not completely dry before the masker is removed. Completely dry paint runs the risk of “tearing” if the mask is removed, whereas paint that is too thin may flow to the masked part once the mask is removed.
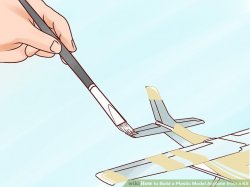
When painting with a brush, always ensure that it is of appropriate size and that there are no loose or stray bristles. Brush painting should be reserved for small or isolated parts, or parts which require a certain finish to them. Applying paint with a brush leaves striations in the direction of brush travel, and must not be used for exteriors or large surfaces.
 You should always follow the published instructions included with your airbrush, but some key points to especially remember are to keep you airbrush perpendicular and of fixed distance from your work, and to paint in one direction only (unless painting camouflage patterns). Airbrushing provides an even coat of paint, and while being better suited for large surfaces, may be used on smaller parts whose surroundings are properly masked.
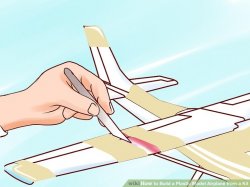
Dry brushing is a technique which employs only a small amount of paint, usually to achieve the effect of weathering. To dry brush, take a dry paint brush and apply a small amount of paint to it. Next, brush off any excess paint on a piece of paper until the result is an inconsistent streak of paint which resembles the weathering you are trying to achieve. Paint the weathering onto the model before the paint dries further. It may be necessary to reapply the paint and remove the excess several times before the level of weathering you want is reached.
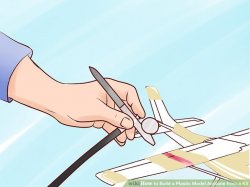
After painting, it may become apparent that some paint needs to be removed, whether it holds dust, has found its way onto an adjacent part, or simply is the wrong colour. To remove paint you may either scrape it off or use a solvent. Scraping is appropriate for small, flat parts and may be performed easily with a small, sharp knife. Solvents can range from specially designed paint removers to brake-fluid, but the method of application usually remains consistent. Using a brush, apply a small amount of solvent to the part you wish to remove paint from. After the designated amount of time, remove it carefully with a clean paper towel. Not only will the solvent come off on the towel, but a portion of the paint will, too. Repeat this process until all the paint has been removed. For large parts it may be practical to submerge the entire part in solvent to effectively remove the paint.