build drum kit
Building an acoustic drum kit can be a daunting task, particularly if you or your child are brand new to the drums! With many fantastic starter drum kits available such as our , it’s now even easier for new drummers to begin their musical journey. The first hurdle before you begin to play however is building the drum kit, and with so many different parts it may become confusing to assemble for the very first time. In order to help you out, our staff at our Leyland store have made an instructional video to show you what goes where & in what order:
We’ll now look at some of the things mentioned in the video, including what order to put your drum kit parts together in and how some of the pieces are set up.
Assembling Skins To Shells
Once you get all of the parts out of your drum boxes, you will notice that some of the drum parts come without their skins attached, which are the usually clear or white plastic parts which you hit. Don’t panic, this is okay! This is done to help protect the skins during transport and shipping, as once they are on and tightened, they become more fragile due to the tension. This is why many drummers use to protect their drums during transport and get years of playing out of them. To attach the skins to the relevant drum shells, you must first remove the tuning ring using the supplied drum key, and then insert the relevantly sized skin between the shell and the tuning ring. This should be a reasonably snug fit with the rim of the skin going overlapping the outside of the shell. If you find this is not the case then it is likely than you are trying to attach the skin to the wrong drum part. Once on, as Neil & Ben demonstrate you must then re-attach the tuning ring whilst making sure each screw is inserted into the relevant lug. Each screw should then be tightened by hand before finishing tightening them using the drum key. When using the drum key, each screw should be tightened a small number of turns before doing the same on the opposite side until each one is tightened an equal amount. Not doing this evenly around the skin will result in an uneven tone at different points on the skin, and could even create creases. Tap around the skin to find any difference and adjust the relevant screw if necessary. This is also a good tip to remember if you ever want to .
Fixing Toms Together
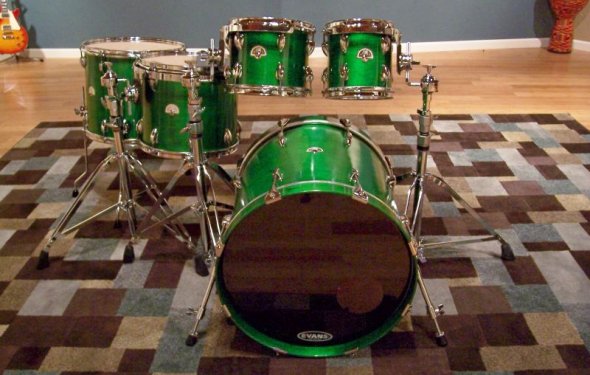
Now that the kick drum, floor tom and toms have been individually assembled, we next need to fix these pieces together. First you need to set up the kick drum where you want to play, this is the largest drum with a skin on. If there is a logo on one of the skins, this should be facing away from you when playing with the tom tom holder nearest to this side. Adjust the legs either side of the bass drum or kick drum to make it level and tighten so that this becomes a sturdy base for your drum kit. Next you need to attach the toms to the tom holders. For a right handed drummer, we work smallest to largest going from left to right, or the opposite way for left handed drummers. Each tom holder is fully adjustable to get at the right height and angle for you and once your tom is in the right place, tighten up the holder using your all important drum key. Once both toms are attached and tightened, adjust and tighten the three floor tom legs to an appropriate height and place on the right hand side of the kit, next to the kick drum.
Kick Pedal & Snare
Next we want to attach the kick drum pedal, which should slot in onto the rim of the kick drum on the floor. Once in the right position, tighten the screw on the underside of the pedal to secure it in place. Next we want to set up the snare stand. Open out the three legs of the stand and the three arms of the snare cradle and tighten to secure them in place. You can also adjust the height of the snare stand if you like before placing the snare drum into the cradle of the stand, with the snare wire (the rattly part) facing down. The snare drum and stand should then be placed on the left hand side of the kit so that it is between your knees when playing.
Cymbals and Stands
We now move onto the Hi-Hat stand, which has a pedal attached at the bottom. Once the legs are spread out and tightened, the bottom hi-hat cymbal should be placed over the top of the spike with the curve of the cymbal facing upwards. As Ben demonstrates in the video, you next need to fit the clutch onto the top cymbal of the hi-hat. Making a note of what order the parts of the clutch are in, unscrew apart and place the cymbal in between the two felts with the tightening screw facing up before re attaching the second felt and nut. Once this is done, attach to the stand and with the pedal pressed down about half way, tighten the clutch to the stand using the screw on top. This allows you to play with hi hat open or closed. The hi-hat should then be placed to the left of the snare so that the pedal can be easily operated with the left foot.
With the tricky part over, we just have the ride or crash cymbal stand to build. Like snare and hi-hat stands, spread the legs nice and wide and tighten off to make the stand sturdy. We now want to adjust the height of this, but unlike the snare stand this needs to be quite tall. The stand then needs to be placed to either the left or right of the kick drum behind either the snare or floor tom, depending on your set up. The cymbal then needs to be attached between the two felts at the end of the stand.
Final Adjustments and Extras
Once you have all of the pieces set up, have a play and see if you need to adjust any parts so that they are easier to reach. With practice, you’ll learn how high you like stands to be and gain a good idea of what angle you prefer drums and cymbals to be at. As a rough guide, start with all toms and cymbals in a horizontal position and gradually angle each towards you until it is in a comfortable playing position.